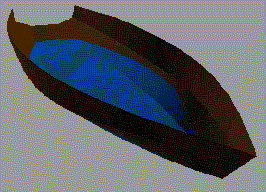
Many people say that FREE!ship with all its many features is a bit difficult to learn. My own experience is, that once you understand the basics, it is actually quite easy. This tutorial will show you how to use many of its features by working on an actual hull. You will need FREE!ship version 1.90 or later.
With permission of Jim Michalak, I will use his "Bobsboat", i.e. the same hull that he uses for his hull design tutorial. Jim says that this is an unfinished design, but I think it is a good example for a tutorial (it is not by chance that he choose it for his lesssons). I have taken the drawings from his website.
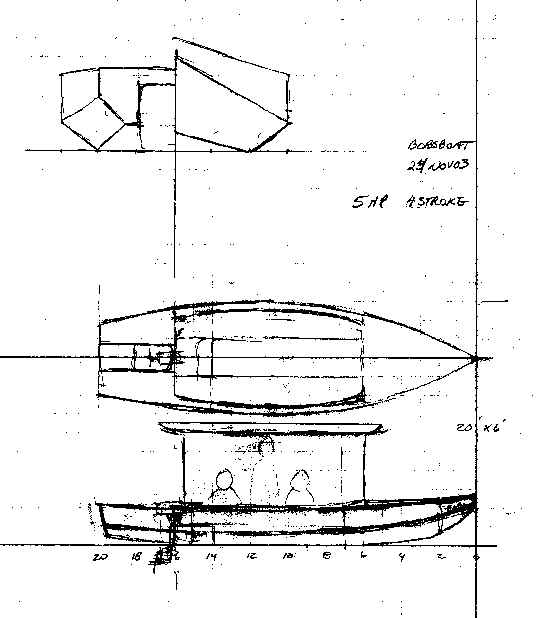
This is the sketch of Bobsboat:

We start a new design: File -> New (or just click the  Button).
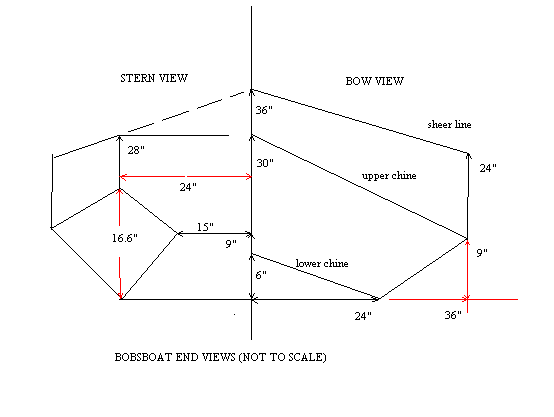
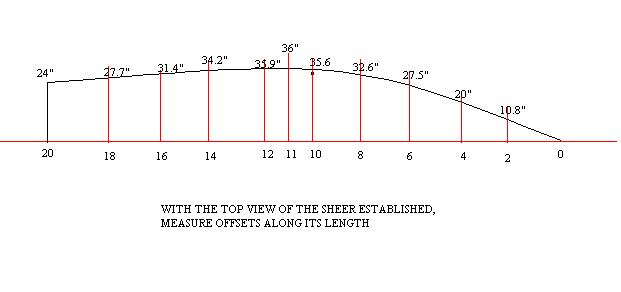
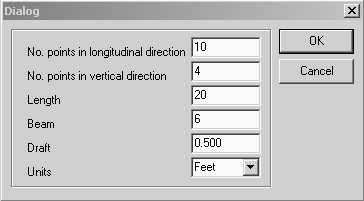
From the plan view we see, that we would need 12 points in longitudinal direction. The first one would be the transom, the last one the stem. However, we choose now only 10, so that we can try some more features later. From the bodyplan view we see, that we need 4 points in vertical direction: the first one for the keel line, the last one for the sheer line. The length will be 20 feet. In the bodyplan view we see the max. half beam as 36 inch, so the beam will be 6 feet. The draft we set for now to 0.5 and the units will be feet.


 near the right end of the button bar.
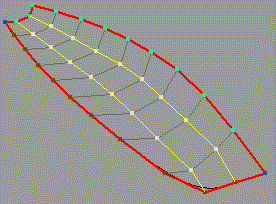
Now we have already a hull that looks fairly close to Bobsboat. We "just" have to get it into the right dimensions. That we'll do in part 2
